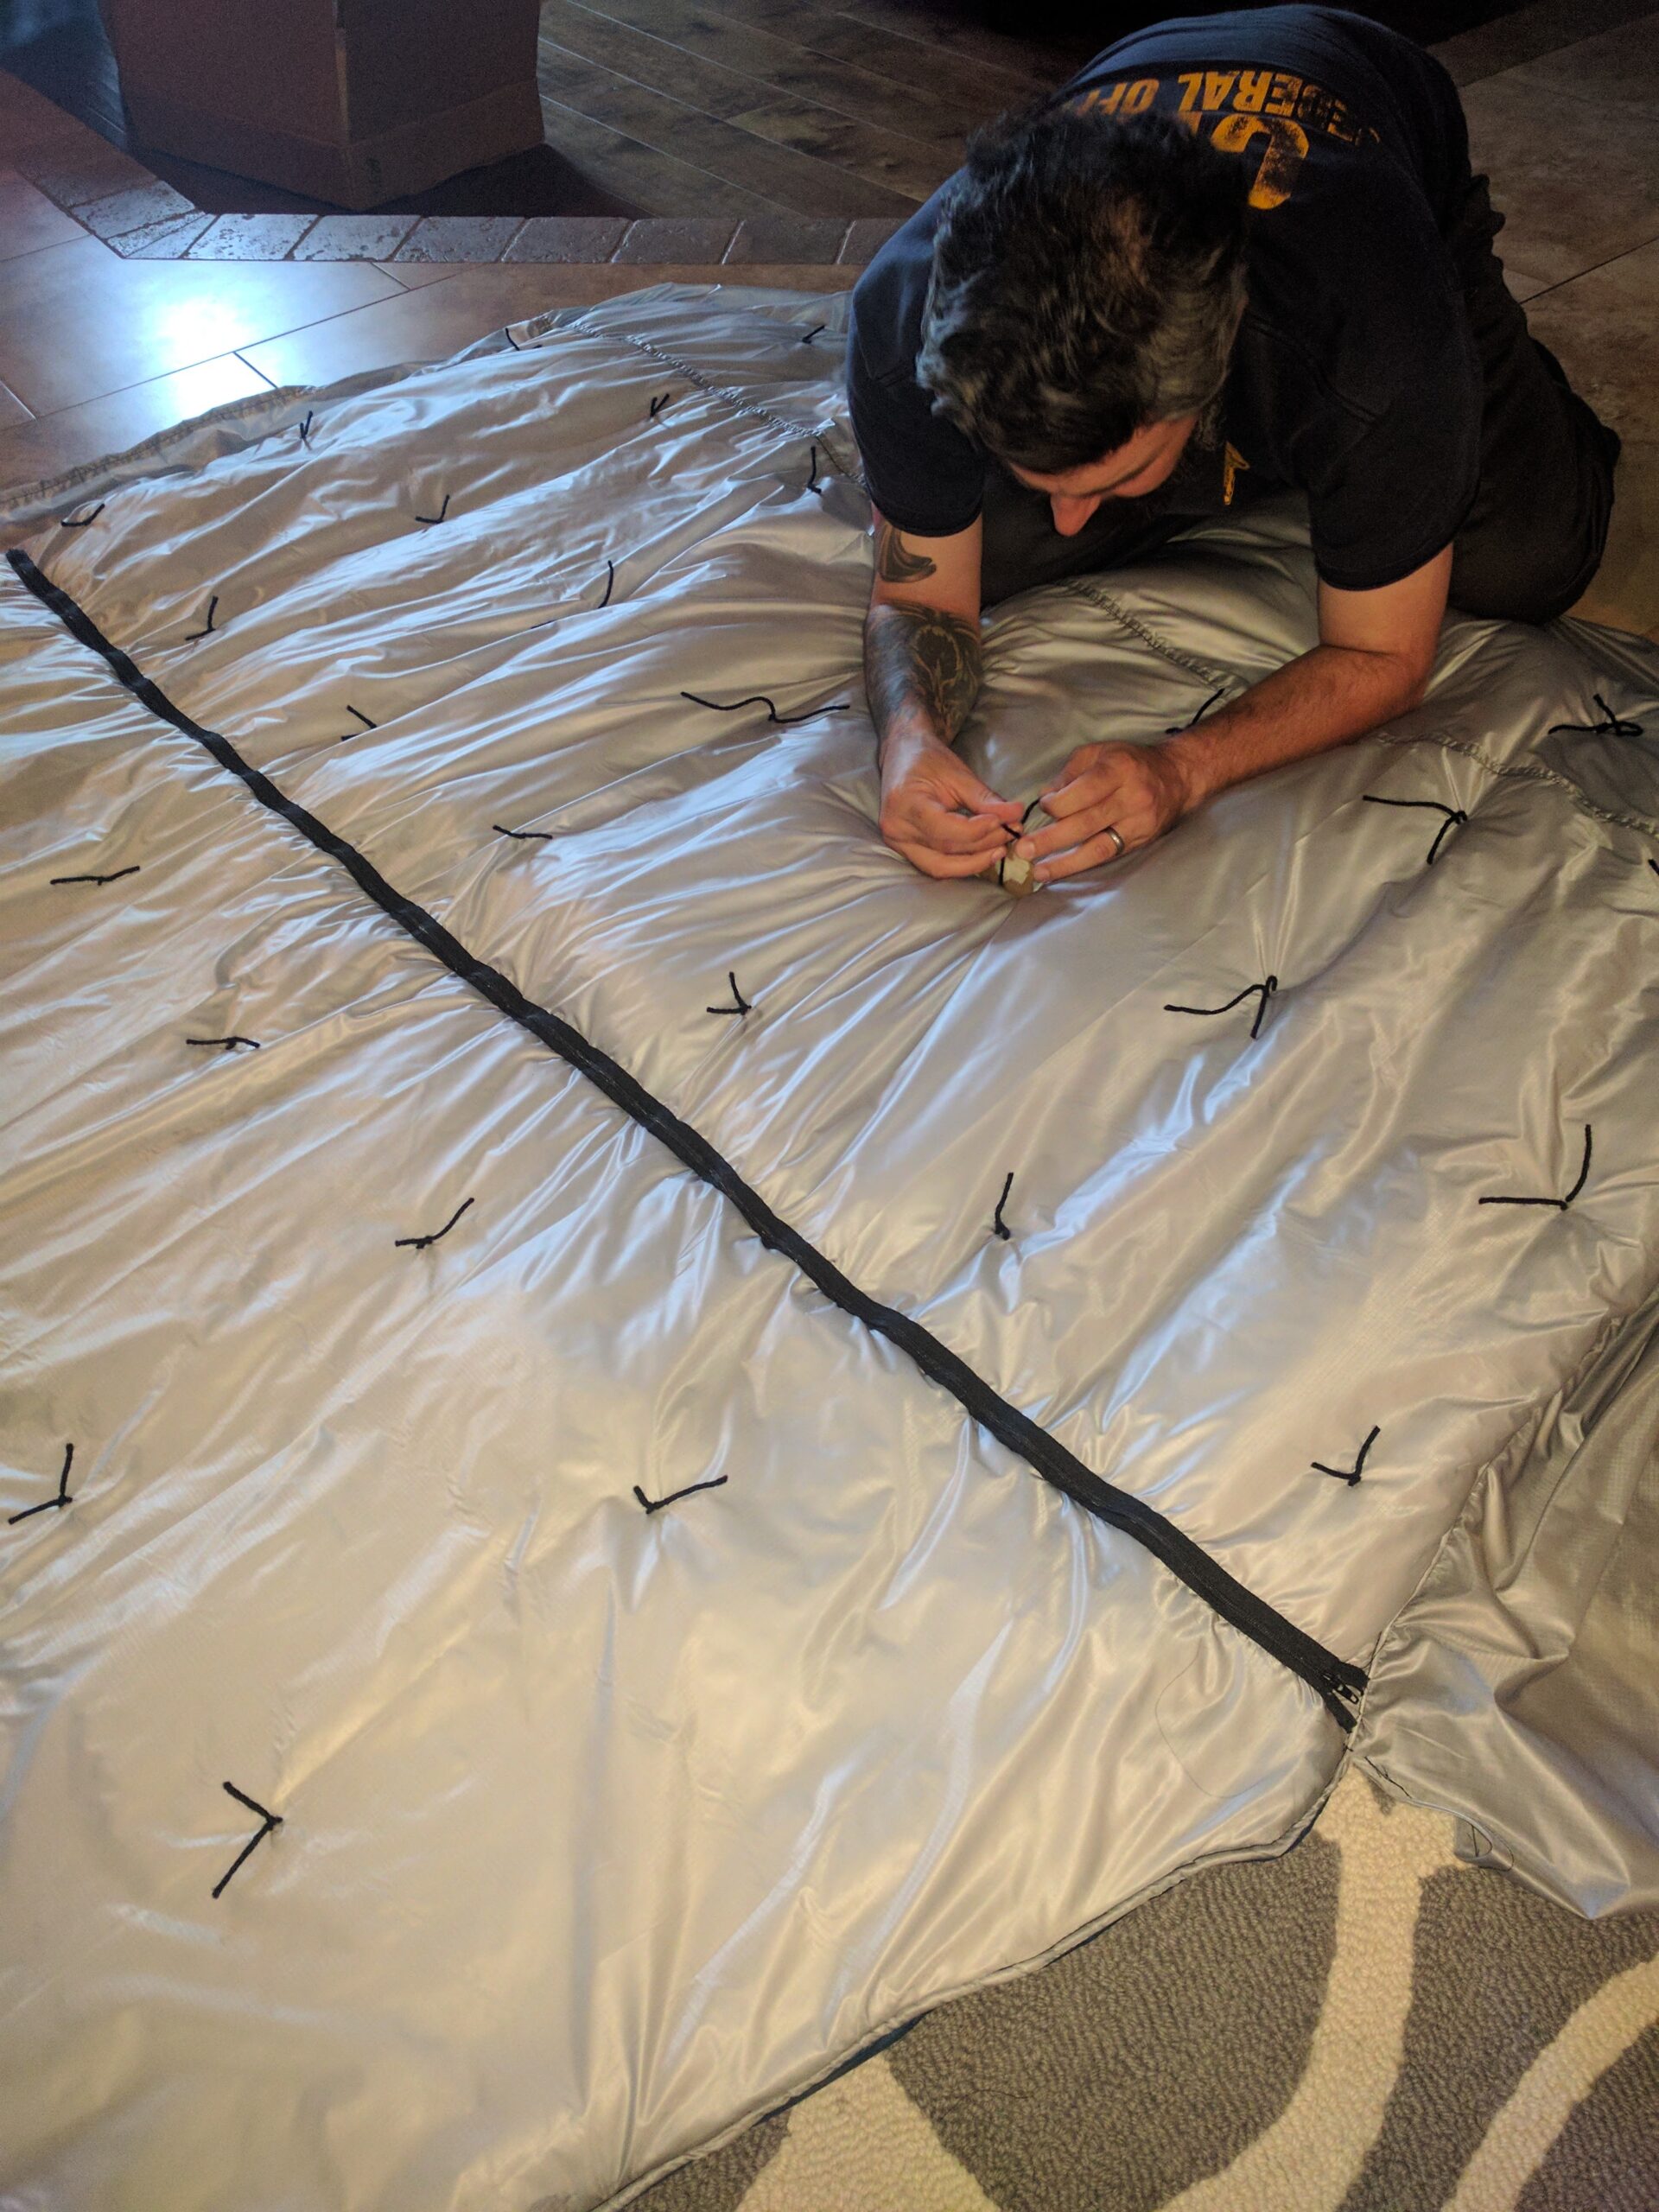
Over the past few days I completed the Ray-Way 2 person quilt. A quilt differs from a sleeping bag in that it has no bottom. Instead, it drapes over you like a blanket while your insulated sleeping pad keeps you warm from underneath. The footbox is closed and wraps around your feet, while the upper section has draft stoppers to keep cold air from getting in when you move.

We had to weigh a lot of variables when deciding if we should change our sleep system. On the AT we carried 2 down mummy sleeping bags. Paul’s weighed 1 lb 13 oz, and mine weighed 2 lbs 2 oz, for a total of 3 lbs 15 oz. A 2-person down sleeping quilt weighs in around 2 lbs, but also cost over $400. That was out of the question. We want to cut weight from our setup, but we are also heavily weighing the cost, because we already have 2 functional sleeping bags. Making a down quilt at home doesn’t end up saving much money, and working with down is more complicated than other materials. I’m not confident enough in my skills at this point to take on that project. This led me to the Ray-Way quilt.

The quilt is made with synthetic insulation, which is slightly heavier and bulkier than down, but is much cheaper. The full kit, with instructions and dual color fabrics, came in at under $200. The quilt is customizable in several ways, so Ray doesn’t offer a weight on the website. However, our completed quilt, which has the split-zip, gorget, draft stopper, and a few extra inches of width added, weighs in at 2 lbs 15.5 ounces, or basically 3 lbs. We are dropping a pound in weight by switching to this sleep system. Also, I learned a lot and am excited to work on more gear in the future.
As for the actual making of the quilt:
I expected this to be a breeze compared to the backpack, but it was tedious in a different way. There is a lot of measuring, marking, and cutting large pieces of material. The directions with the kit come with sample measurements that you can customize. I decided to add a few inches of width to the quilt, then proceeded to cut my pieces with the sample measurements! I debated if I should just make the quilt standard sized, but I opted to just add a strip of fabric to the edge and it is hardly noticeable in the final product.

The sewing itself was a bit tedious too, as you have to be very vigilant about making sure the layers don’t bunch up or slip and slide too much. Nylon is slippery and stretchy so it can be a challenge to work with. The final touches include using quilting yarn to stabilize the insulation, and I made Paul help me with that part. I also began the project using the Ray-Way thread, which is very strong and was great on the backpack. However, it is a bit heavy-duty for my machine, and when using it with the lighter sleeping bag materials it was proving impossible to get a balanced stitch. I went out and got some “regular” heavy duty thread, which was much lighter than Ray’s thread and it worked better for this project.
I made the quilt about 4 inches wider than the sample size, and I also made the draft stopper about an inch wider as well. I went for the split-zip option, which adds a zipper vertically across the quilt so that each person can carry half of it. This may have been my first time sewing with a zipper, so that was an informative process for me as well.
I’ve really enjoyed making the quilt and backpack. Next week Paul and I are going out on an overnighter for a few days to test out our new gear setup, so I’ll report back on how well the quilt performs in cool weather.

Nice job!!!!
Nice dude! I’ve also sewed a bunch of RayWay kits – backpack, tarps, stuff sacks, mittens, hats etc – they’re all awesome. I’ve never tried a quilt but your example is tempting me….
Paul Hammond: Quilt Model