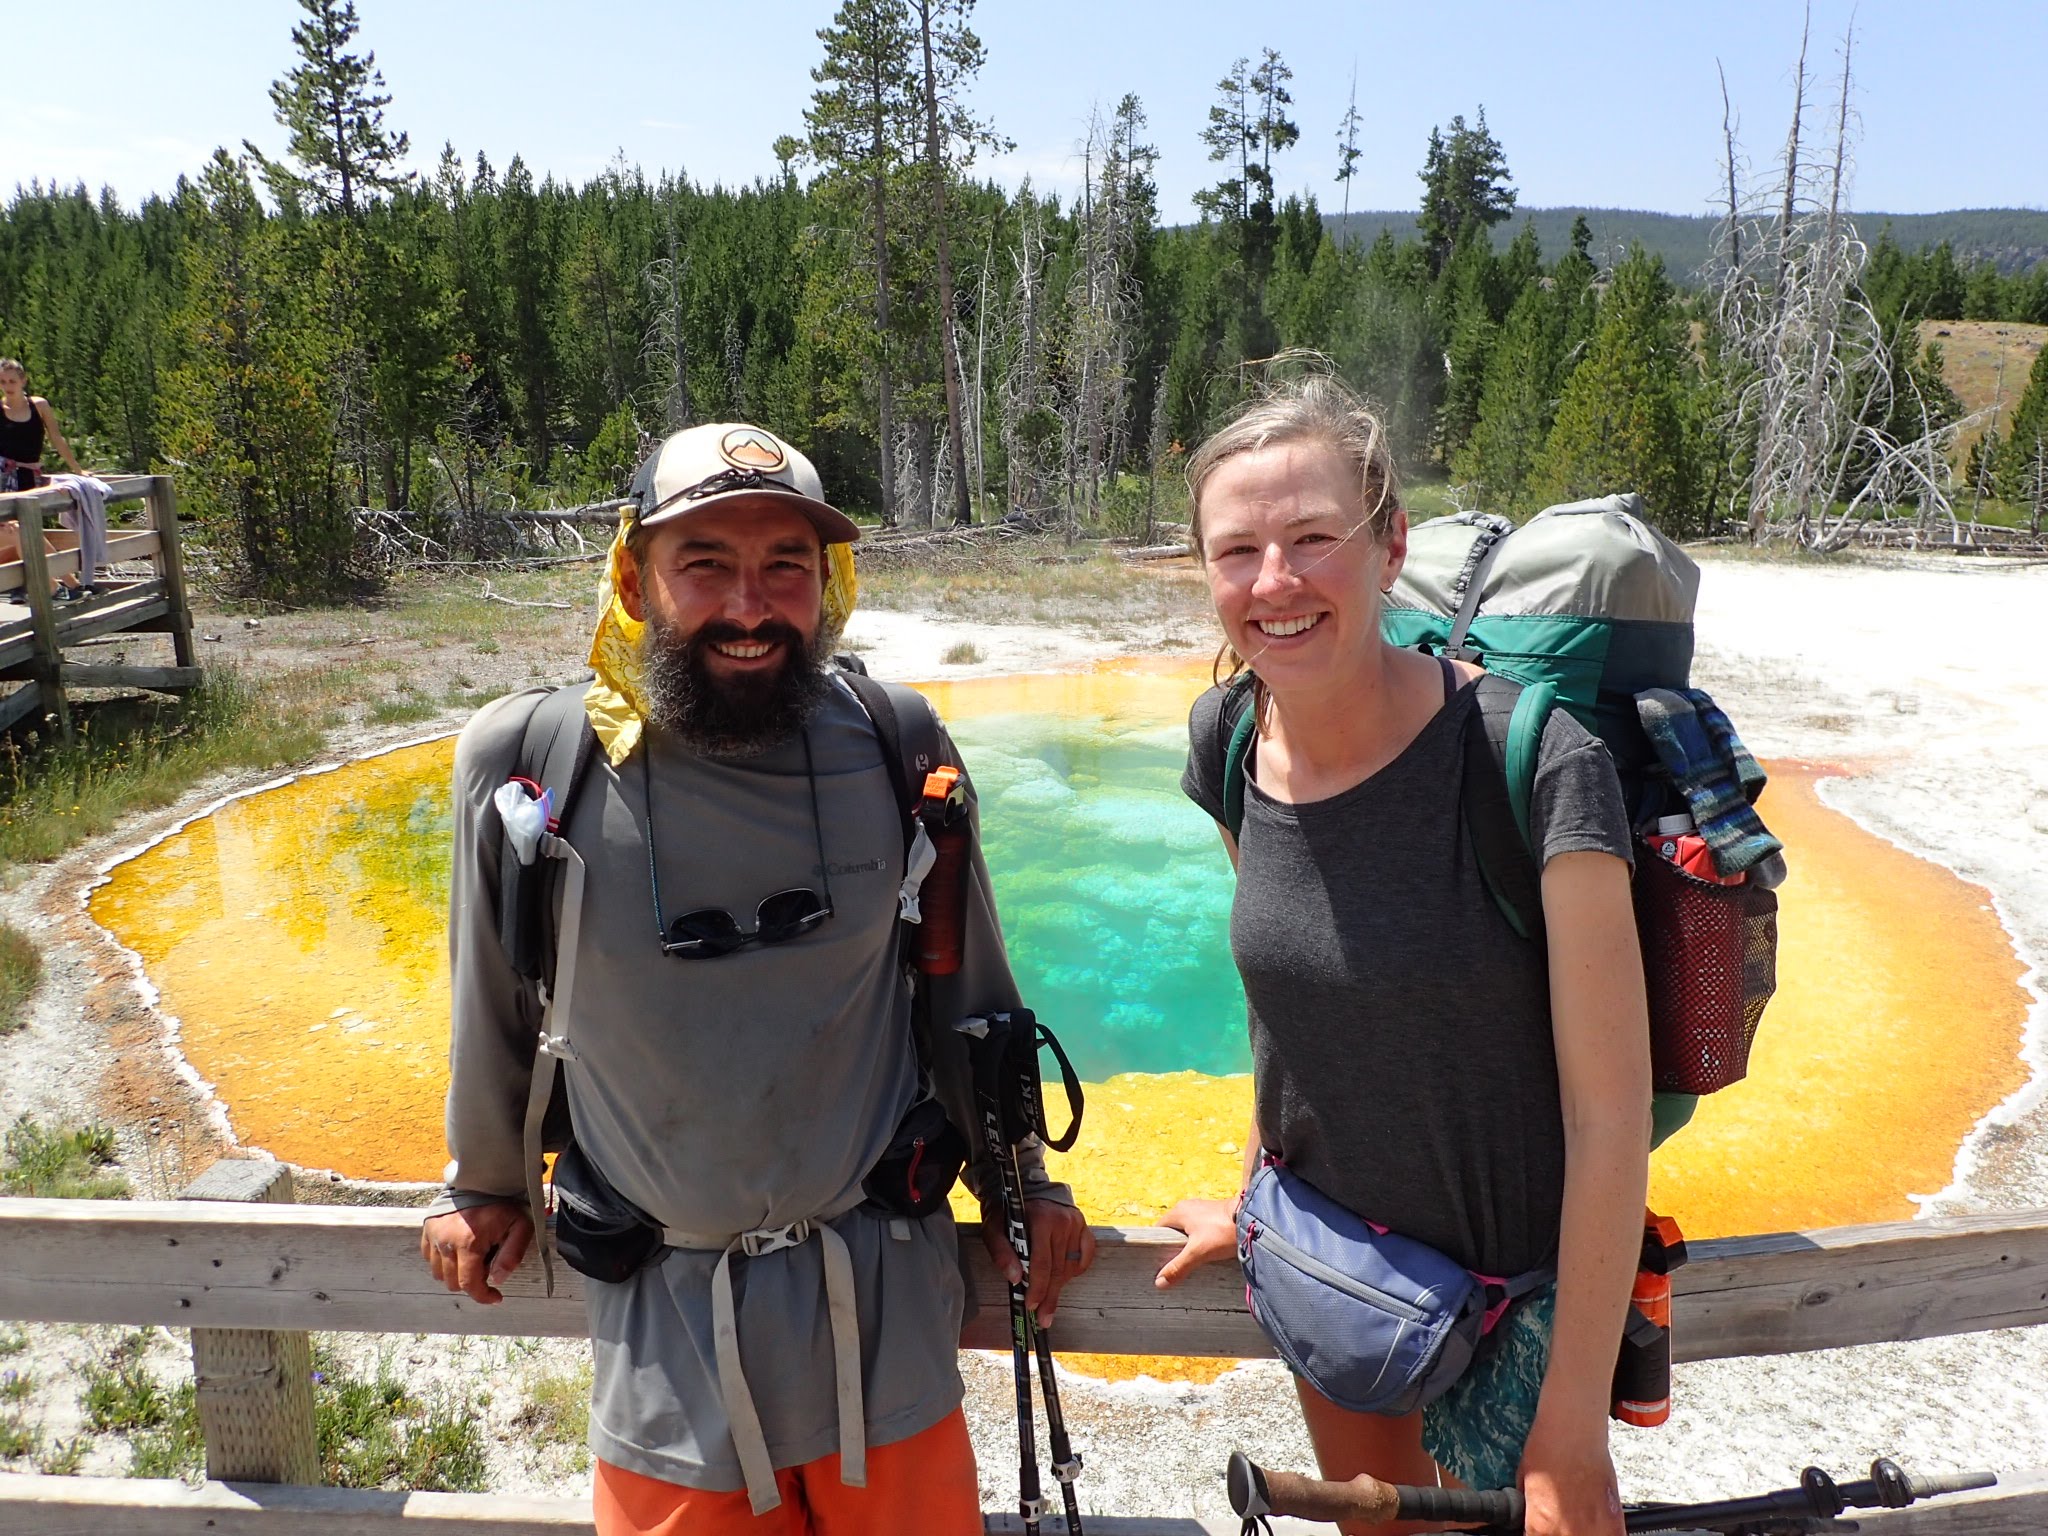
I’ve probably sewed more backpacks than any other piece of gear, and all of them were Ray-Way, Mountain Flyer, or some slightly modified version of either one. Both make suitable backpacks for a hiker traveling light, and both can be made with a basic sewing machine.
The Ray-Way
I met 2 people on the AT who were hiking with homemade packs. Both were Ray-Way, and they sparked my interest immediately. Naturally, the Ray-Way was the first backpack I ever sewed, for the PCT, as well as the second, for the CDT. I found the first one to be larger than necessary so for my second one I ordered a smaller volume. I could have gone smaller still. I also made a couple of custom packs for Paul, blending the basic design elements of the Ray-Way with his favorite features of the Gossamer Gear Kumo.

Pros
- Very lightweight, about 12 ounces.
- Very roomy, especially with the entire extension collar (it’s too much for me, I shorten it).
- Directions are step-by-step, which are less confusing for a beginner, and might teach you a few skills, like how to flat-fell a seam.
- Comes with all the materials provided.
- The pattern for the pack is basic enough that it can be customized to whichever measurements you prefer fairly easily, once you understand how the pack is constructed.
Cons
- The website feels like it was created in the early days of the internet and never updated. It reads a little preachy as well.
- While the directions are good for a beginner, it is hard to visualize what exactly you are doing at certain steps, and harder to think about modifications you might want to make (one of the main advantages of DIY gear). I had to make the first pack before I could really see how I could modify it.
- The materials are light, but you won’t be playing with the newest technical fabrics.

The Mountain Flyer
I’ve become a pro at sewing the Mountain Flyer – I can whip them out in a couple days now. Paul was able to make a scaled-down version of the pattern for a daypack, which had a few trial-and-errors but ultimately came out nice as well. In all, I think I’ve made 5 of these packs now.

Pros
- The pattern comes with a list of gear you need to buy to make the pack. This means you can play with whatever fabrics you want. I’ve been using X-Pac, Gridstop, and HyperD.
- Visual aids to help with the building process.
- Super comfortable wearing experience – the shoulder straps on the Mountain Flyer are more comfortable than the Ray-Way, despite being made of thinner foam.
Cons
- At first look, the directions are totally confusing. I had to study them for awhile. I find the process easy now.
- Lower volume – which can be a good thing. Just don’t go for this unless you are already experienced in ultralight backpacking.
- The recommended buckles and webbing are on the bulky/heavy side for a UL pack, though you can swap out for whatever you want.

COST
The cost of the Ray-Way kit is about $100. They do request that you purchase a new kit for each backpack that you make. I imagine this is why the instruction are step-by-step rather than giving you a pattern to print – they don’t want people reusing it. I respected that and bought 2 kits (They were more like $80 in the before times) to make my packs. By then, I had skills and confidence to move on to new projects.
The cost of the Mountain Flyer pattern is $20. You print it yourself, cut it out and tape the pieces together. You have to buy all the materials to make the pack, but since the directions are in pdf, there are links to take to right to what you need. Or, you can use what you already have on hand, or look for lighter substitutes. If you were to buy the same materials as used in the Ray-Way, this option is cheaper, but you could also go for the newest and most expensive fabrics and spend way more. It’s up to you.
OVERALL
The Ray-Way pack is better for a beginner – both a beginner sewer and a beginner in ultralight. You don’t have to debate which fabrics or components to get- they all come included. A few times the instructions were confusing, but there are lots of drawings to help with visualization. As a self-taught sewer, I also learned a thing or two. I’ve had to patch both of mine once or twice, but each of them lasted a thru-hike, so I would still call them durable. The shoulder-strap foam, however, got pretty crushed.
The Mountain Flyer is great for someone who already has a minimal, lightweight gear list and enjoys MYOG. I love to make adjustments to the pack each time I make one. I usually add the bottom pocket, similar to Pa’lante Packs. I find I like the Ray-Way method for cinching the side pockets, so I add that in. I’ve experimented with larger, taller side pockets for trips with large water carries. I play with different colors and fabrics depending what I have available. I add loops for optional hip belts. I find the pack very comfortable and fairly easy to make.

